 Tips and Beauty Site about Skin care, Hair care, Health, weight loss and lifestyle tips
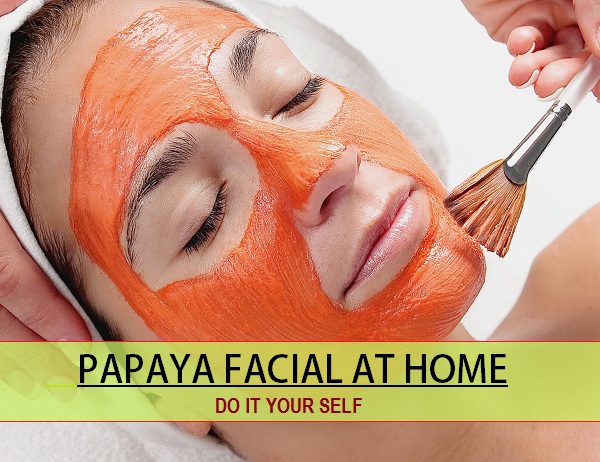
How to do papaya facial at home yourself easily
Facial is a great way to keep the skin texture beautiful and better over the years. These days, there are lot of facials like fruit, gold etc. One such facial is papaya fruit facial that helps improving the skin’s tone and elasticity especially when you have mature skin. Facial makes skin relaxed and rejuvenated. Most of us would go to beauty parlours or beauty salons to get a facial done but they can be expensive when you are doing them regularly. So, how about doing papaya facial at home. Yes, it sounds good, doing a papaya facial yourself. This papaya facial is a lot cheaper than the cost of the salon facial. We will share the step by step procedure for papaya facial at home that makes skin complexion fairer, lightens marks and scars and also makes skin look younger with just a couple of ingredients you can easily get at home.
Step by step Papaya facial procedure at home
To start with the home facial, you will have to keep some things ready for the various steps in the facial. The important steps of the facial includes: Cleansing, Seaming, exfoliation/ extraction, Face massage and face pack and for the above steps you will need the below mentioned ingredients and products. We will be using the entire natural product, so no store bought product will be used.
Products or ingredients for the Papaya facial
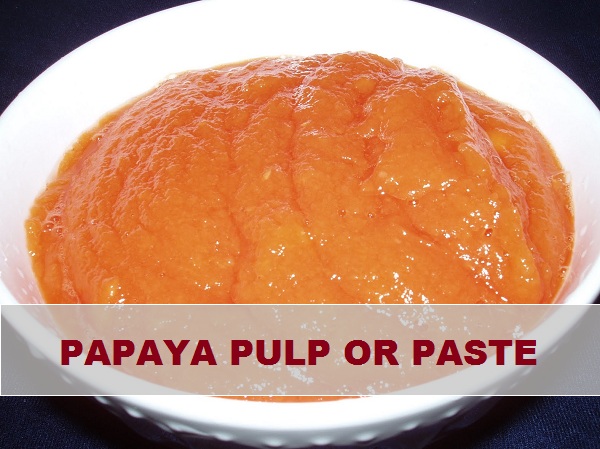
- One Papaya slice to make puree or paste (see the picture)
- 2-3 teaspoonful Milk or Rose water
- Lemon juice
- 2-3 teaspoonful of Honey
- 2-3 teaspoonful Sugar
- Besan (Gram flour)
All the detailed Steps for Papaya facial
1. Cleansing the face
The first step is to cleanse the skin. Take 2-3 teaspoonful of raw milk with a pinch of salt. Dab some cotton pad and use it to gently wipe off the face. Milk is very good to cleanse the face naturally.
2. Steaming
This procedure is crucial since it softens the skin which helps to cleanse the pore by opening them and also steaming makes the blackheads and whiteheads softer due to which it becomes very easy to extract them. Take a large bowl of hot water and taking a towel cover yourself. Bend your head over the bowl. Be careful not to burn yourself. Take steam to soak in your face for 5-7 minutes.
3. Extraction
Now that you have steamed the face, the skin is softer with pores open. Take a blackhead extraction tool and extract the blackheads. Skip the step if you don’t have any. Move on to the exfoliation step.
4. Exfoliation:
This step takes away the dead skin layer off the face so that the new skin layer underneath is exposed for the next step which is massaging. Exfoliation is good for mature skin. Exfoliation or scrubbing can be done with a ready made scrub but since we are using all natural homemade things, we will use a homemade sugar and honey scrub.
Mix 2-3 teaspoonful of honey with same amount of sugar and gently rub on the face in circular manner. Sensitive skin people can use oatmeal and honey instead of sugar which is milder. Scrub the face with circular motion for at least 3 minutes. Wash the face with plain water.
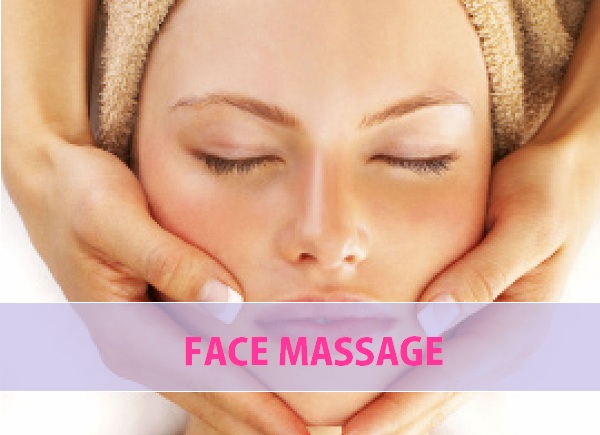
5. Face massage with papaya
Next step in this Papaya facial is to massage the face. Make a puree of papaya, more like a paste and taking that in your fingers gently massage the face just like you do with the face creams/lotions. Massage gently concentrating on the jaw line, forehead, sides of the nose and a little down the neck. Massage should be done with light hands and for at least 10 – 15 minutes. Do you know watching TV, then massaging will not make you get bored from this process. Try it when you do Papaya facial at home. Save 2-3 teaspoonful of papaya paste to be used for later on.
 6. Papaya Face pack
After the massaging, take the paste of papaya that you have saved and add half teaspoonful of lemon juice and 1 teaspoonful of besan (gram flour) in that. Mix and apply on the face. Let it get dry for 15-20 minutes and once it does, wash the face with tepid water. Apply Rosewater for normal – oily skin and some light moisturizer for dry skin. Our Papaya facial at home is done.
Some tips: It is good if you do the Papaya facial or any skin treatment in the evening since when you sleep at night skin get better results with that. Those of you who wish to bleach their face, and then bleaching should be done 4-5 hours prior to this home facial or a day before.
Benefits of Homemade Papaya Facial use
- It enhances the blood circulation to make skin smoother.
- Skin looks glowing and texture improves.
- Papaya lightens the skin complexion, marks, blemishes and acne scars from the face.
- Dead skin layer is removed, which makes the skin appear younger and radiant.
- Regular application makes lines and wrinkle fade away.
- De- stress and rejuvenates the skin.
- Papaya facial also deep cleanses the skin.
Get a beautiful, glowing skin with this homemade and natural Papaya facial at no extra cost. Read our tips for beautiful healthy skin and hair.


Solutions for dark circles and eye bag